Monthly Archives: March 2014
DIY – apron!
Well … maybe I can’t really call this a “DIY” since I did use a pattern. Although I guess I did DO IT MYSELF, so I’m going to count it.
Is it just me, or are patterns written in greek? Maybe I just need to learn more sewing lingo.
I bought this pattern at Walmart for $1! I figured I could just wing it without a pattern, but for something large, I assumed it was worth the splurge. I was totally right! I’m getting my moneys worth out of this baby!
Apron #1:
I made it for me! I found this polka dot fabric at Walmart and the coordinating pink as well. It’s a little bold for my regular style, so I figured it would be perfect for an apron.

Apron #2:
I made this for my roomate for her b-day. She’s on a cruise right now with no internet connection, so hopefully she doesn’t see this post until she gets back on Saturday. 🙂 She doesn’t cook much, but maybe this will give her some motivation! It’s the pinkest thing in the entire world. Notice the pink ruffle on the pocket? ❤ And that green stuff … it's an old SHOWER curtain!
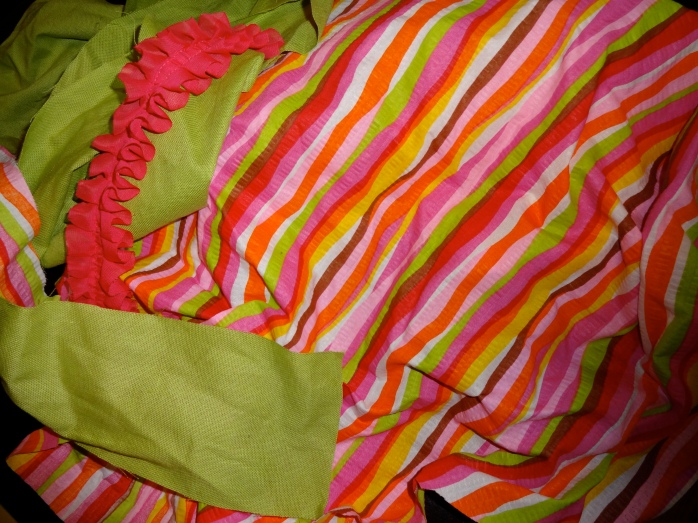
Her’s is a size bigger than mine (another plus for the pattern) since she’s got boobs and I don’t.

Apron #3:
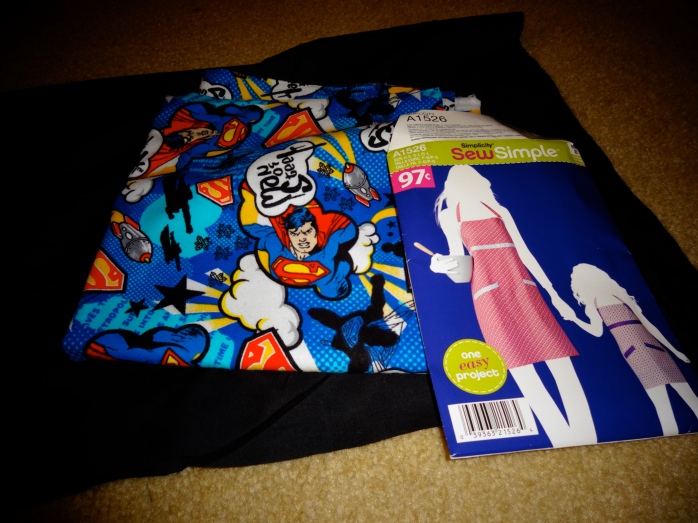
Superman apron for Max’s birthday. What 32 year old boy (or maybe 33?) doesn’t want a Superman apron. Name one …
Pintrest SUCCESS – how to clean your bath tub/shower
I found this on pintrest, so I figured, why not?!?
1 cup vinegar – heat up in the microwave for 2 min
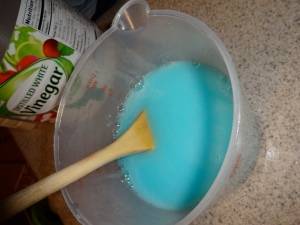
4 TBSP of baking soda – add it to the vinegar SLOWLY! I mean, mega slow. Otherwise you’ll have a volcano on your hands. Mix well.
1 cup dish wash soap (like Dawn). Mix again.
Pour into bathtub.
Let sit for 2 hours.
Can you see the clean splotches where I poured it?

I was hoping to not scrub at all, but I had to a little.
It totally worked!
SUCCESS!!!!
MegaCon
So I attended my first MegaCon last Saturday and I discovered something … I’m not a nerd.
Or maybe I’m just too old.
I actually really enjoyed making my silly costume, but the crowds and the weirdos … I think I’ll pass on MegaCon 2015.
Left-Right – my roommate Drew, an ACTUAL Delorian that we saw in the Ale House parking lot and me!

Selfie Sunday
Boltie t-shirt
Time to craft my Boltie t-shirt.
Step 1 – buy a gold t-shirt. This was harder than I thought! I finally found one at Walmart.
Step 2 – google the Super logo and print it out. Cut out the pieces and pin on your felt.
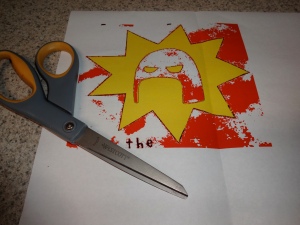
(you can see my mask in this photo)

Step 3 – sew logo pieces together!
Step 4 – pin on to shirt and start sewing!

Step 5 – sew some bias tape ($1.90 at Walmart) around the neckline. I did a pretty horrible job at the V part of the neck, but it’s just a silly costume.

That’s it! It’s a piece of cake.
MegaCon costume!
In case you were wondering why I made a green felt mask (St. Patrick’s Day?) or a green skirt (she got a great deal on green fabric?) … I’m actually crafting a costume for MegaCon.
I’ve never been before, but I’m assuming it’s like the San Diego Comic Con, only about 50X less cool.
My friend Max goes every year and he dresses up. At first I thought that’s a lame idea and there’s no way I’m dressing up.
Then I thought, “What the hell? I’ve got some times on my hands.”
(I’m not calling it “cosplay” though … I just can’t bring myself to that.)
I’m dressing up as Boltie, from the movie Super.
The Rainn Wilson movie, Super from 2010:

Up next, I need a shirt!
DIY skirt
Why am I wasting money on pants and shorts, when making a skirt takes 15 minutes?!?
Step 1 – mess up cutting your fabric, so sew 2 squares together to make a long rectangle. 😦 😦 😦
In all seriousness … measure your hips. Multiply that by 1.5 if you want a non-poofy skirt or multiply by 2 if you want a poofier skirt. If you want a mega poofy skirt, keep multiplying!

Step 2 – We need to make a casing for the waist elastic. Iron down a small fold. Then iron down another 1″.

Step 3 – Pin a 3″ opening to remind yourself to STOP sewing. We need that opening for the elastic. Sew around the top layer.

Step 4 – With your trusty paperclip, feed the elastic thru your opening that you remembered to leave.

Step 5 – Sew a zig zag over and over to secure the 2 loose ends of the elastic. Then sew up your top 3″ opening. The top is now done!

Step 6 – Hem the bottom the same way you did the top (although, there’s no need to leave an opening). Iron down a small bit all the way around, the fold over again and iron.
YOU’RE DONE! Simple as pie!
DIY mask
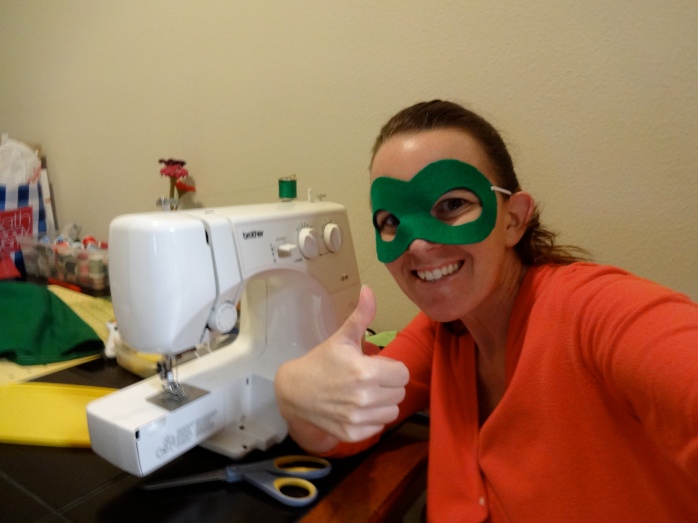
Holy cow, this was the easiest thing EVER!
Make a bunch of masks people. Make them for your kids. Make them for a random holiday. It was so easy and quick. And fun! Or maybe I just love felt, so I have so many random ideas.
Step 1 – google “mardi gras mask template”. You’ll get a whole bunch. Print.
Step 2 – cut out your template and pin it to a piece of felt. Felt is like 50 cents at the fabric store!
Step 3 – put it against your face and make sure you can see ok. 🙂
Step 4 – Sew on teeny tiny elastic. I actually had this elastic on hand b/c I made my wedding garter out of it. But I’m sure it was only about $2 at the fabric store. And I only used a small bit. Tons more left over for future mask making!
Step 5 – try on your mask and realize you look amazing! (or ridiculous …)
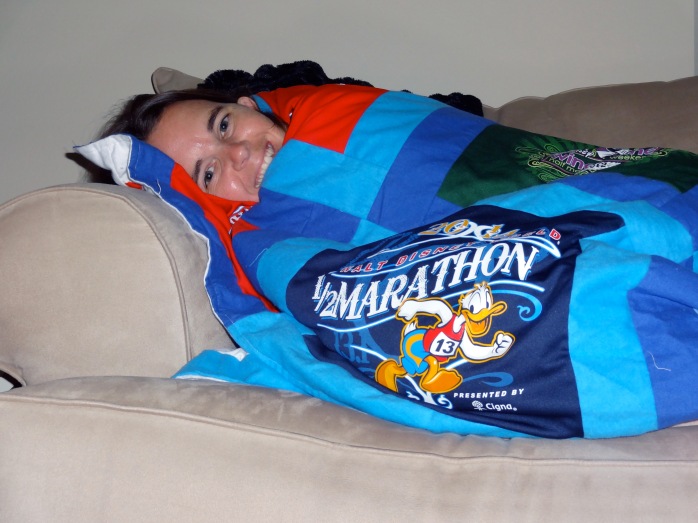
DIY – runDisney event blanket (the finale)
Here’s a refresher of how this got started:
I had the entire front side done in part 3, but now I had to make the back.
I got this red chevron fleece on sale at JoAnn’s for $5 for 3 yards! The problem was, I was going to have to cut it in half to fit my blanket.
This means the chevron would look pretty lame at the seam. See what I mean? There was no way I was going to line that up straight!

So I bought some white snuggly fabric and cut out some strips.

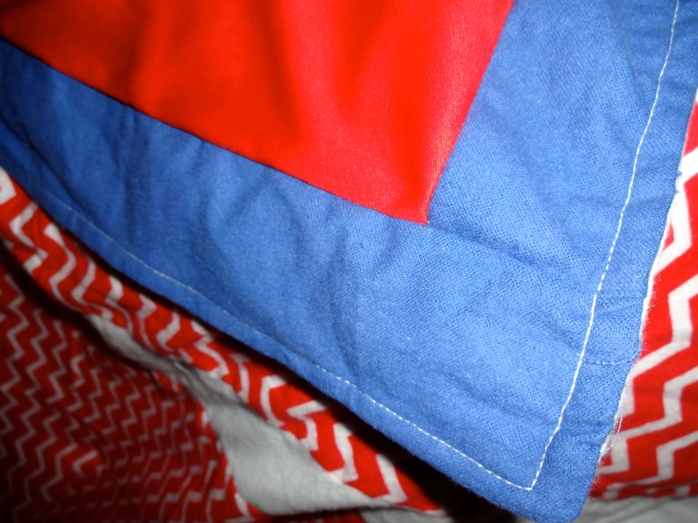
I framed the entire thing with white fabric and it was ready to sew front to back!

Since I sewed the back and front pieces together inside out, then left a small opening to turn it right side out, I had an opening. I had the GREAT idea of just sewing a white line all around the outside. This would sew up the ‘pull thru’ opening and make it look more finished.

